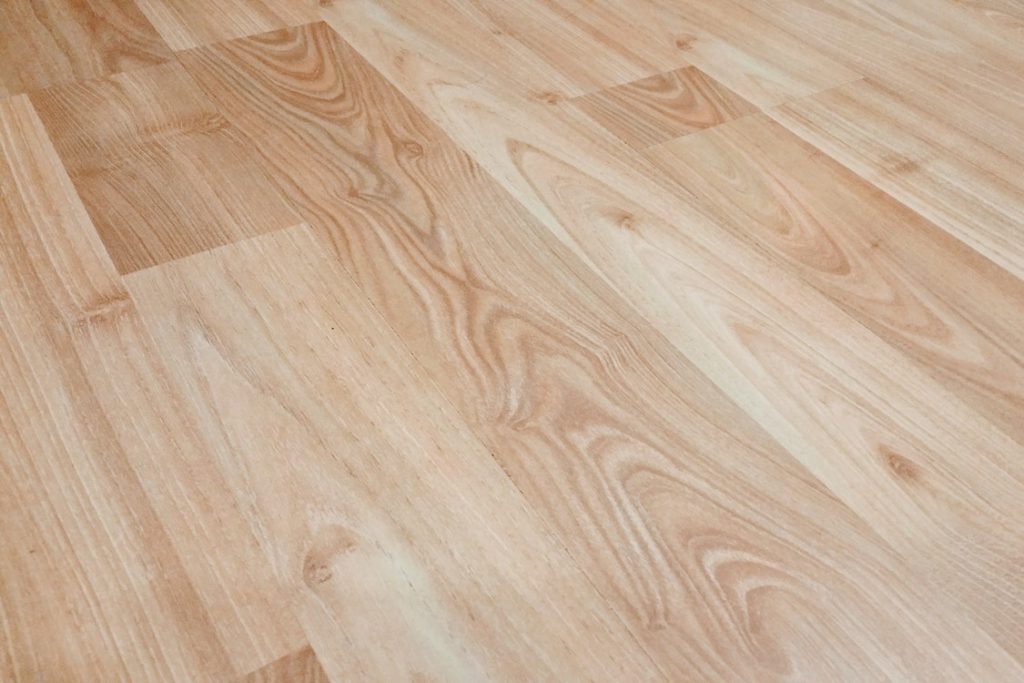
If you are thinking of doing it yourself with epoxy flooring, you are probably wondering what is involved in this process. In this article, we will discuss the cost, application methods, and surface preparation. We will also discuss what to look for while inspecting an epoxy floor. We hope these tips will help you make the most of your DIY project. In the meantime, feel free to share your own experiences and recommendations! By the time you are finished, you should have a beautiful, durable floor that you can proudly show off to your friends and family.
However, if you want the best possible results, work with a professional; you may check their map listing here.
Cost of DIY Epoxy Flooring
The cost of epoxy flooring varies. The square footage of the project determines how much it costs. Some people prefer to save money by doing the project themselves. However, it can be hazardous. Before you try to do it yourself, you should consider the type of epoxy and the size of the project. Safety should be your top priority. If you can’t afford the help of a professional, you can choose to purchase do-it-yourself kits.
The cost of epoxy flooring can range anywhere from three to twelve dollars per square foot. It depends on whether you choose water-based or solid epoxy. Solid epoxy is usually about twice as expensive as water-based epoxy, but it requires less maintenance. The total cost of an epoxy flooring project depends on the area’s square footage and the number of coats it needs. For example, a large concrete garage will require a solid floor coating.
DIY epoxy flooring requires considerable skill. To install a high-quality floor coating, you need to prepare the concrete surface. The coatings will adhere better to a clean slab of concrete. Professional teams use a floor-built diamond grinder to grind off the top layer of concrete and expose the porous surface. A shot-blaster is also suitable for removing smooth or contaminated concrete. Ensure that the concrete is clean and dry before applying the epoxy floor coating.
While DIY epoxy flooring can save you money, professional installation requires a professional. The process requires more patience and skill and requires a high-quality material. The average DIY epoxy flooring kit costs between $150 and $600 and is usually a cheaper alternative to hiring a professional. It contains all of the supplies you need for the project, including patching compound for the concrete and application tools. You can even add decorative color flakes to your DIY epoxy floor – they can cost between $10 and $15 per 125 to 250 square feet.
DIY epoxy flooring is an excellent option for homeowners who need a flooring solution but are on a tight budget. It is highly durable, resistant to dents, and does not absorb dust. Although it is not recommended for welding, it is a good choice for most tasks. However, it is not advisable for welding, as the sparks from the process can damage the epoxy coating. DIY epoxy flooring can be a great way to give your home a facelift while increasing the value of your property.
Application Methods
The first step in applying do-it-yourself epoxy flooring is the preparation of the floor surface. If the surface is not prepared properly, it can result in an uncured floor and expensive repairs. In addition, improper preparation may result in a floor that feels tacky or even dripping. Make sure to follow the manufacturer’s instructions when applying the flooring material. This article describes the basic application methods for do-it-yourself epoxy flooring.
The first step in applying do-it-yourself epoxy flooring is to mix three parts of muriatic acid and one part of water. Then, using plastic watering can apply the acid to the floor surface. Allow the floor to remain wet for between two and 15 minutes, depending on the method used. Epoxy flooring products have a solids content between forty and sixty percent, with the higher the percentage, the harder the floor will be. Solvent-based products can be more difficult to find and may require a ventilation system. Industrial supply stores may carry them.
Applying epoxy flooring to a concrete floor requires careful floor preparation. To prepare a floor for this task, you must clean it thoroughly. You can purchase concrete cleaning solutions from a local hardware store or big box home improvement store. These solutions will remove stubborn stains and allow for better bonding of the epoxy coating. A stiff nylon bristle brush is helpful for this step. Be sure to wear PPE while doing this process, including long pants and long sleeve shirts. You may also choose to wear safety goggles and gloves for protection.
To avoid any potential pitfalls, try applying floor wax to your floor surface prior to installing the do-it-yourself epoxy flooring. This will make cleaning your floor much easier. Also, the floor wax will make it easier to mop. While applying epoxy, make sure to follow manufacturer instructions and use a quality epoxy. Once you have your floor finished, you’ll be glad you did it. If you’re satisfied with your DIY flooring project, you can try this new flooring on your next garage floor.
Surface Preparation
One of the most important steps in Do It Yourself epoxy flooring is proper surface preparation. There are three main ways to prepare a concrete or wood floor for an epoxy coating. Whichever way you choose, make sure to follow these basic steps. Regardless of the method, you will need to make sure that the subsurface is sound and stable. If it’s not, the epoxy coating will not adhere to it properly and will be less durable.
The surface preparation is the most critical step for applying an epoxy coating. Unless the floor has been properly prepared, the coating may not adhere well and may require costly repairs. For best results, prepare a concrete surface preparing surface with a primer and diamond grinder. Otherwise, you will have a poorly-applied floor that will look sloppy and will need to be replaced soon. You can do it yourself if you have the proper equipment and follow these simple steps.
When preparing concrete surfaces, make sure to measure the thickness of the concrete. If the floor is too thick, you may want to scrape away more of the surface layer. This will open up the concrete pores and allow the epoxy to adhere to them. The process will be faster with an assistant. A roller may shed epoxy if it is not well-maintained. Masking tape and paintbrushes are also helpful to deal with edges. Lastly, ensure that the surface is dry before applying the second coat of epoxy.
Despite the fact that this process can be tedious, the end result will be a smooth, even finish. You can purchase the right materials and equipment for the job by researching online. There are a number of guides available online to guide you through the process of floor epoxy application. Make sure to get enough information and follow a step-by-step plan. And don’t forget to practice a little on your own before you tackle the entire project. You might end up learning more about the process than you originally thought.
Inspecting An Epoxy Floor
There are a few things to look for when inspecting an epoxy floor. While the surface needs to be clean, there are some things that you should keep in mind to ensure that the final result will be as good as possible. Using an inspection checklist before the installation process begins can help ensure that all necessary steps are completed correctly. For instance, it is important to check for cracks and uneven areas. If you see any cracks in the epoxy floor, it’s time for a re-application.
To properly inspect the surface, you’ll want to make sure the surface is free of any oil, dirt, or another residue. This will help ensure that the floor adheres to the material. If you’ve applied paint, make sure you remove it completely from the surface. Once the floor has been cleaned thoroughly, you’ll need to wait for the epoxy to fully cure. This may take several weeks, so you’ll have to repeat the process a few times.
Preparing the floor is the most important step when applying an epoxy coating. If you’re applying the coating to a concrete floor, it’s important to make sure the surface is ready for the new material. You should be sure to prepare the floor before the epoxy application, otherwise, the floor will not hold up to the coating. Before applying an epoxy coating, you should prepare the concrete surface with acid etching or high-pressure cleaning. It’s important to make sure that the surface is completely dry, or you could face problems when it comes time to apply the coating.
You should also make sure you remove any debris that might be on the floor. While this is a crucial step in the process of repairing an epoxy floor, you must be aware that grit and dirt can embed themselves in the surface. Repeated scratches over a long period of time can cause damage. To clean this, you can use a shop vacuum with a soft brush attachment. The frequency will depend on how much dirt you track. It’s advisable to move heavy equipment grit-free.